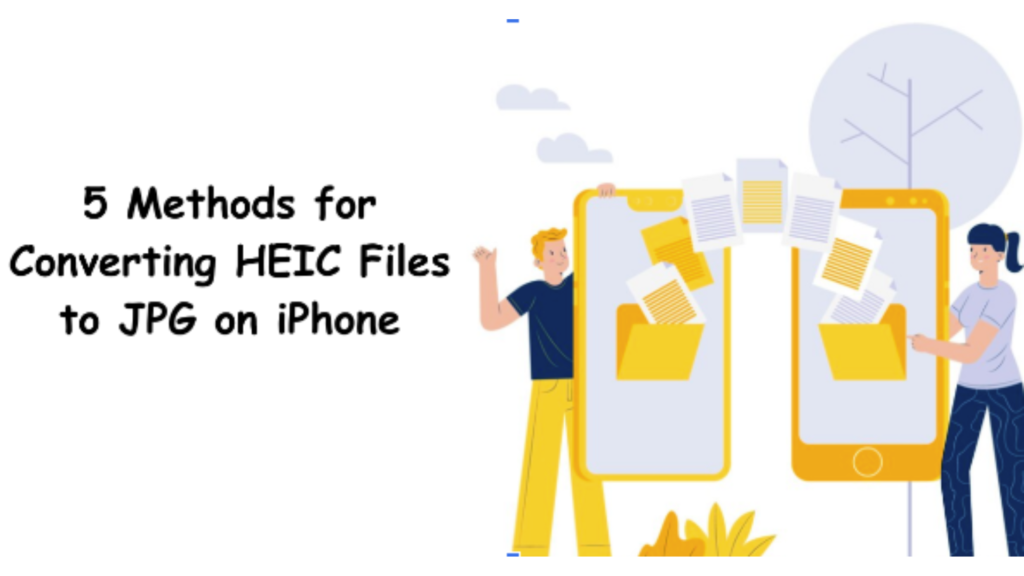
With the popularity of iPhones and their high-quality cameras, an increasing number of users face the issue of converting HEIC (High-Efficiency Image Format) files to JPG (Joint Photographic Experts Group) on their smartphones.
HEIC is the default image format used by iPhones since iOS 11, owing to its greater compression capabilities. It enables consumers to save space on their devices. However, HEIC files’ interoperability with other devices and platforms, particularly Windows computers, may be limited. To remedy this issue, users must find efficient ways to convert HEIC files to a more widely compatible JPG format.
In this blog post, we’ll look at how to convert HEIC files to JPG on the iPhone. We’ll talk about how to use a HEIC converter. Continue reading as we explore the many techniques and solutions!
Related: Free Bulk Email Extractor online
What is the HEIC Format?
A HEIC file uses High-Efficiency Video Coding (HEVC) to compress and store photographs on many devices. A HEIC file is a variation of the HEIF (High-Efficiency Image Format) used by the latest Apple products.
If you use Windows or Android devices and want to verify that your images are in JPG format, utilize the procedures listed below. If you want JPEG to be the default capture format for all future photos, go to the Settings app and change it.
- Convert HEIC to JPG on an iPhone by using the HEIC to JPG converter tool
The HEIC to JPG converter converts photographs and makes them compatible with all devices and systems. It’s the greatest online tool for converting HEIC to JPG. Convert HEIC to JPG and share your personal memories online for free.
Using this program, you can easily convert image formats. Just follow these three easy actions.
- You can upload or drag and drop your HEIC image file into the input field.
- Your file will be immediately converted to JPG format by the program.
- Click the “Download” button to start downloading the file.
- Convert HEIC to JPG on iPhone with the HEIC Converter App
One of the simplest ways to convert HEIC files to JPG on an iPhone is to use a specific HEIC Converter software. These apps are specifically intended to convert HEIC files from your device’s photo collection into JPG format. Here are the procedures for converting HEIC to JPG using a HEIC converter:
- Install the HEIC Converter app from the App Store. There are various possibilities, including “HEIC Converter,” “iMazing HEIC Converter,” and “iConvertHEIC.”
- Launch the HEIC Converter app and enable it to access your photographs.
- Choose which HEIC files you want to convert to JPG.
- Choose JPG as the export format.
- Tap the “Convert” button, then wait for the program to complete the conversion.
- After the conversion, you will have a distinct JPG copy of each HEIC file.
- Use iCloud Photos to Convert HEIC to JPG on an iPhone
If you’ve enabled iCloud Photos on your iPhone, you can use the built-in conversion option to convert HEIC files to JPG format. This method allows you to complete the conversion right on your iPhone, eliminating the need for any other apps or web tools. Here’s how to convert HEIC to JPG with iCloud Photos:
- Launch the “Settings” app on your iPhone.
- In the upper part of the screen, tap your Apple ID.
- Choose “iCloud” from the options.
- Scroll down and select “Photos.”
- Turn the “Upload to My Photo Stream” feature on or off.
- On your iPhone, open the “Photos” app.
- Select the “Albums” tab located at the bottom of the screen.
- Find the album “My Photo Stream” and open it.
- Find the HEIC files that need to be converted to JPG.
- To see a HEIC file in full-screen mode, tap on it.
- Snap a picture of the HEIC file.
- Your camera roll will have a JPG file with the screenshot.
- Use Third-Party Photo Editing Apps to Convert HEIC to JPG on iPhone
It is likely that the third-party picture editing tool you now have on your iPhone can convert HEIC files to JPG format. The option to export HEIC files as JPGs is one of the many powerful photo editing features available in apps like Adobe Lightroom, Snapseed, and VSCO. The following procedures will help you use third-party picture editing apps to convert HEIC to JPG:
Related: Free PNG to JPG Converter Online
- On your iPhone, launch the photo editing software.
- To convert the HEIC files, import them into the app’s library.
- To open a HEIC file for editing, tap on it.
- Look through the app’s interface for the export or save option.
- Choose the JPG format for the output.
- On your iPhone, save the file to your camera roll or another location.
- Convert HEIC to JPG on iPhone
One of the easiest ways to convert an image file from HEIC to JPG is to use the Files app on your iPhone. This is the way you do things.
Locate the image you want to convert in the Photos app, then select Share.
- Click on Copy Picture.
- Get your iPhone’s Files app open.
- Press my iPhone.
- The steps needed to copy a picture to your iPhone’s files.
- On a blank space, long-press and select Paste.
- Now that the image has been pasted, a JPG conversion has happened automatically.
- You can save the image to your photos or share it by tapping it.
Bottom Line
On the iPhone, converting HEIC to JPG is necessary for simple sharing and viewing on various platforms and devices. This blog post examines five distinct approaches. You should weigh each approach according to your unique requirements and preferences. All of the instructions and suggestions shown above will help you convert HEIC files to JPG on your iPhone with ease.